Introduction
Mudfish Cloud VPN is an application which could be used to avoid the network congestion by changing the physical routing path through Mudfish VPN servers.
Download
The latest package found at the download section of http://en.loxch.com . The packages for 32 bit and 64 bit machines are available.
For Windows
Install and Uninstall
Install
The first screen of Mudfish Cloud VPN installer is the component menu.
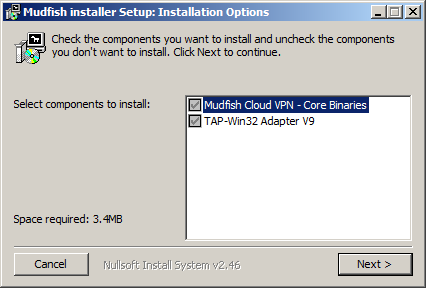
There are two components and each item installs as follows:
Mudfish Cloud VPN - Core Binaries
Core files. Three programs are contained that Mudfish Core, Mudfish Flow Controller and Mudfish Launcher.
TAP-Win32 Adapter v9
Miniport adapter working with core programs. tap0901 driver distributed by OpenVPN technology Inc. will be installed.
Next step is an installation folder selection. In this document we assume that you install the program at C:\Program Files\Mudfish Cloud VPN ( C:\Program Files (x86)\Mudfish Cloud VPN for 64-bit machine).
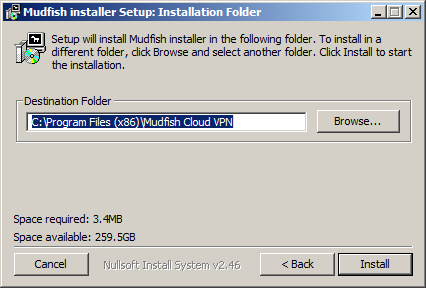
After selecting the install folder then click ‘Install’ button.
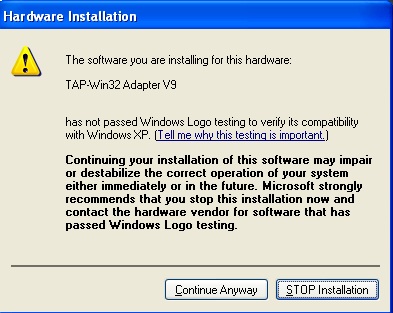
If this’s your first installation for Mudfish Cloud VPN, you could encounter the following warning messages to install TAP-Win32 Adapter v9. This network driver must be installed.
If you’re a Windows 7 user, the following dialog box could come up.
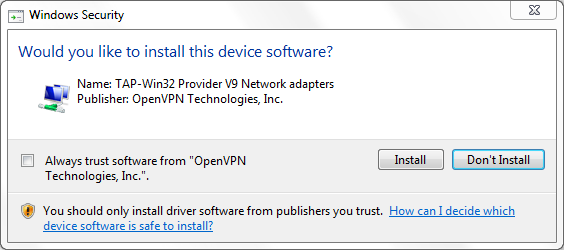
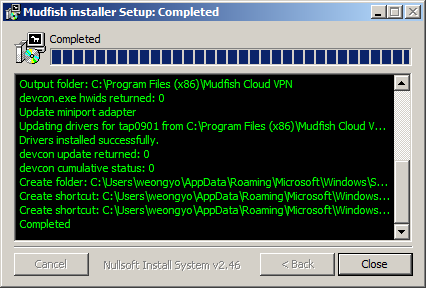
Keeps going to install.
Uninstall
With Windows Explorer, please move to C:\Program Files\Mudfish Cloud VPN folder (C:\Program Files (x86)\Mudfish Cloud VPN in 64-bit machine). Just run uninstall.exe file.
It will uninstall all files and directory including TAP-Win32 Adapter v9 driver.
How to use
Mudfish Cloud VPN consists of three programs that Mudfish Core (mudfish.exe), Mudfish Flow Controller (mudflow.exe) and Mudfish Launcher (mudrun.exe). Each program’s roles are as follows:
Mudfish Core (mudfish.exe)
Core program to handle the routing table, RX/TX packets and the communication between Master server. Command line options are also available to launch it at Windows console.
Mudfish Flow Controller (mudflow.exe)
Flow controller to manage the routing table and RTT measurement.
Mudfish Launcher (mudrun.exe)
Web UI based on the reverse proxy.
Launch it!
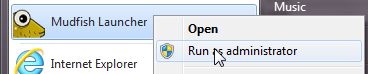
Let’s launch Mudfish Launcher.
- Opens “Mudfish Launcher” from “All Programs” -> Mudfish Cloud VPN”. If you’re a Windows Vista/7/8 user it should run as adminirator privileges by right-clicking on “Mudfish Launcher” icon, and selecting “Run as administrator”.
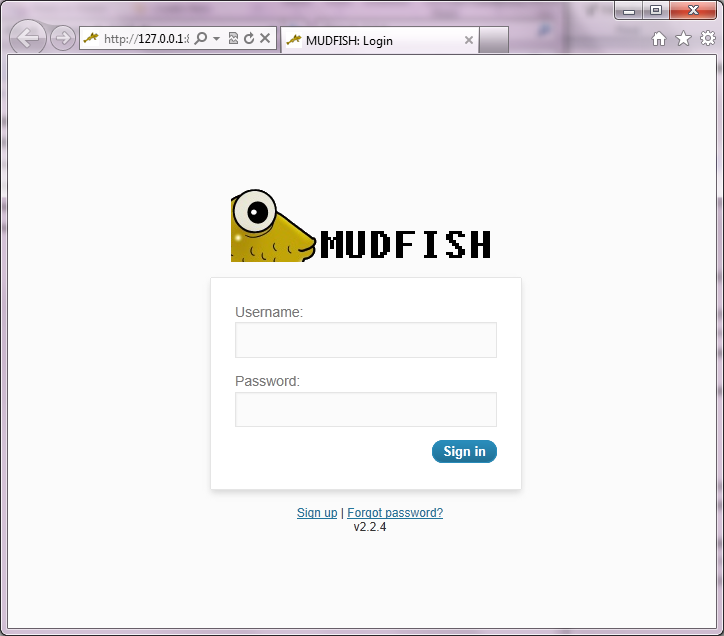
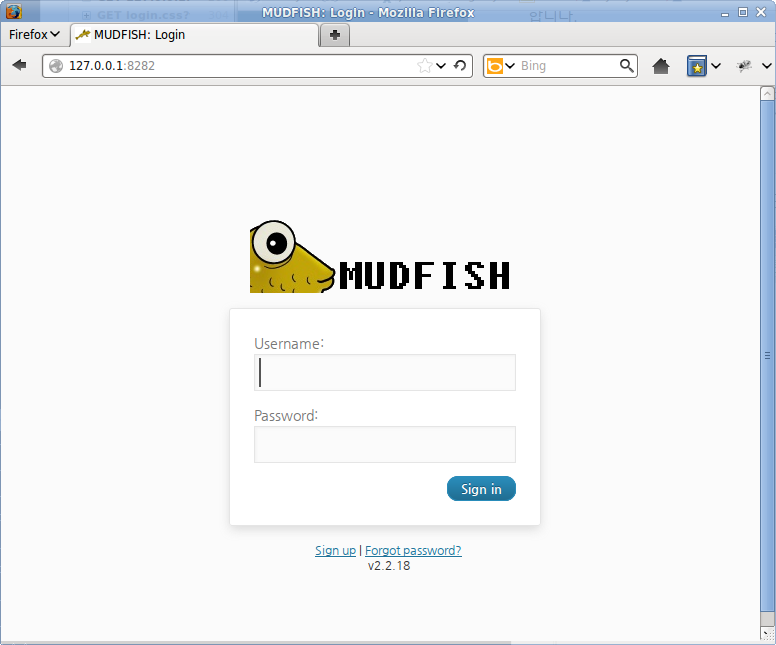
If it works with problems, your default browser’ll be opened and move to http://127.0.0.1:8282
Port number could be vary that one of random number (1024 - 65535) if port 8282 is in use.
Sign up
You need to open an account to use Mudfish Cloud VPN and ‘Sign Up’ link is found at the sign-in screen.
Deactivate the account
The link to close your account permanetly could be found at ‘Accounts’ menu.
Sign in
If Mudfish Launcher is working correctly, your default browser’ll be launched then automatically visit the Web UI as follows:
How to use Mudfish Launcher
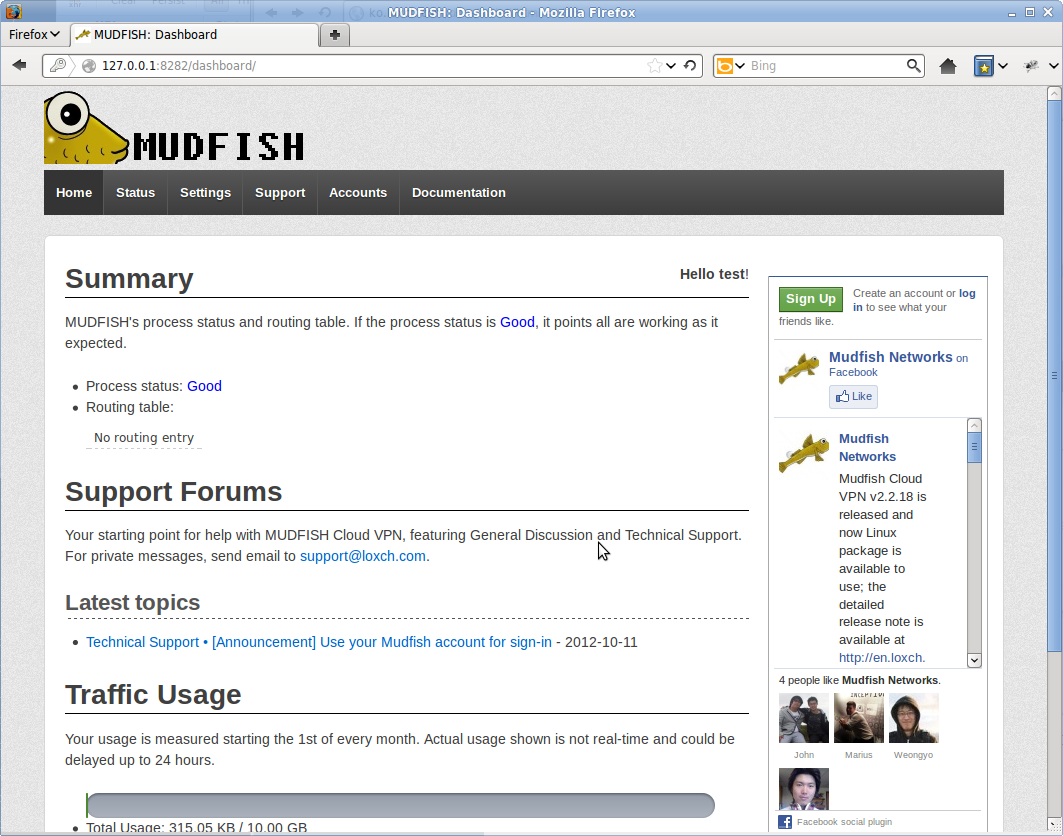
The following screen will be shown when the sign-in process was good.
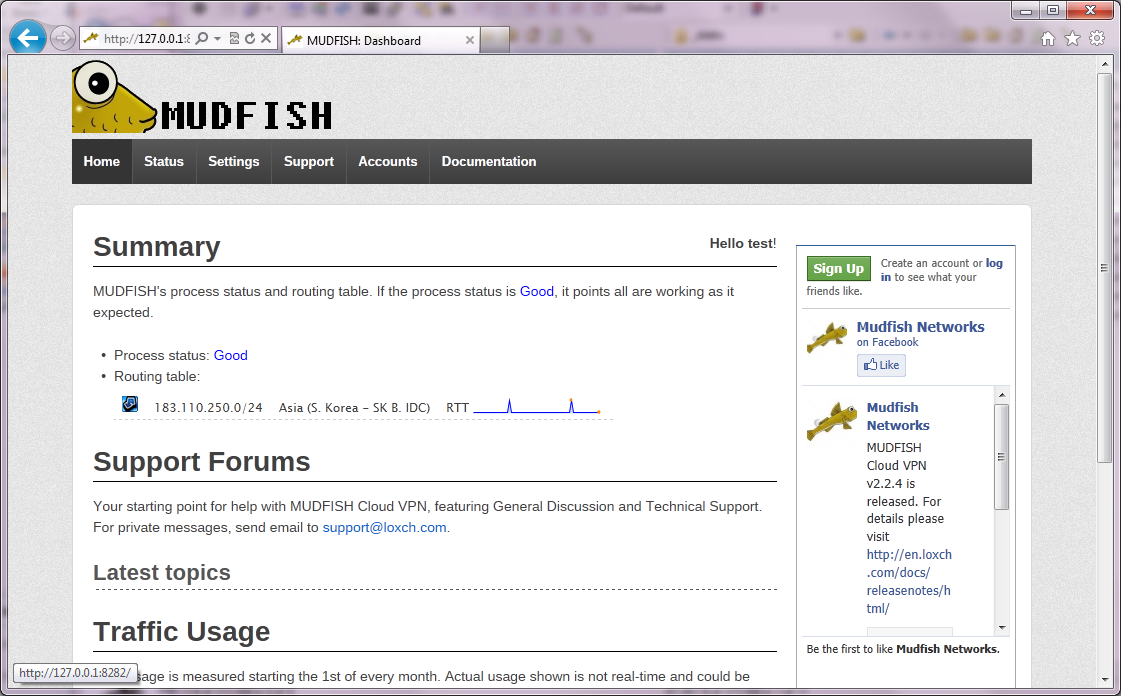
Now it’s ready to use all Mudfish VPN servers. For details about Mudfish Launcher please refer to “How to use Mudfish Launcher” document.
Stop Mudfish Cloud VPN
Clicks the exit of Mudfish Cloud VPN’s system tray icon if you want to stop. If it’s not existed properly, the following processes should be killed by Task Manager:
- mudfish.exe
- mudflow.exe
- mudrun.exe
For Mac OS X
Install tap(4) driver
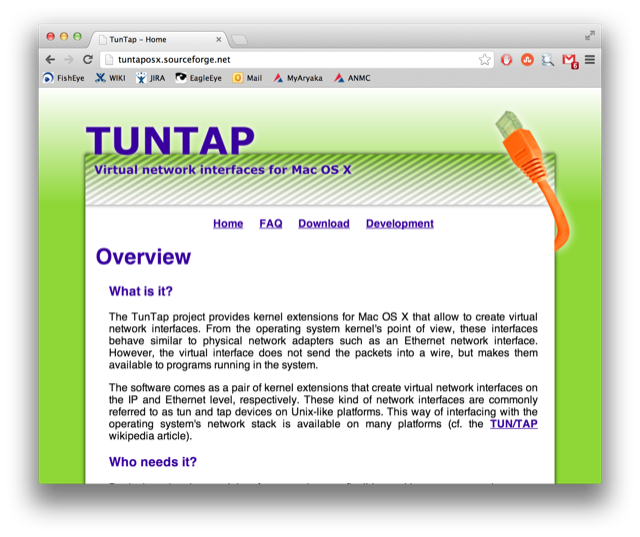
Mac OS X does not have tap(4) driver as default so we need to install tap(4) driver to use Mudfish Cloud VPN first. For Mac OS X, it’s available at http://tuntaposx.sourceforge.net/
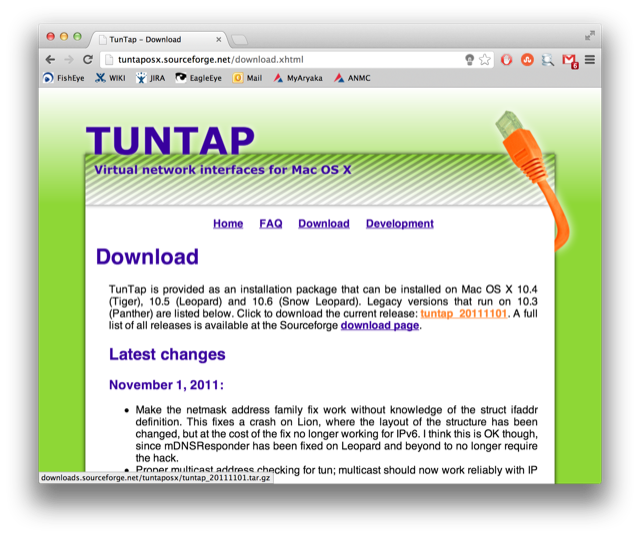
Download the latest package file.
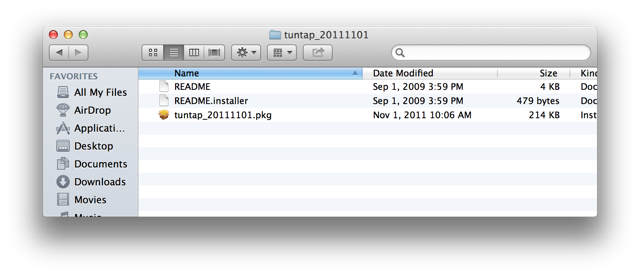
Unzip the file then you can see the package.
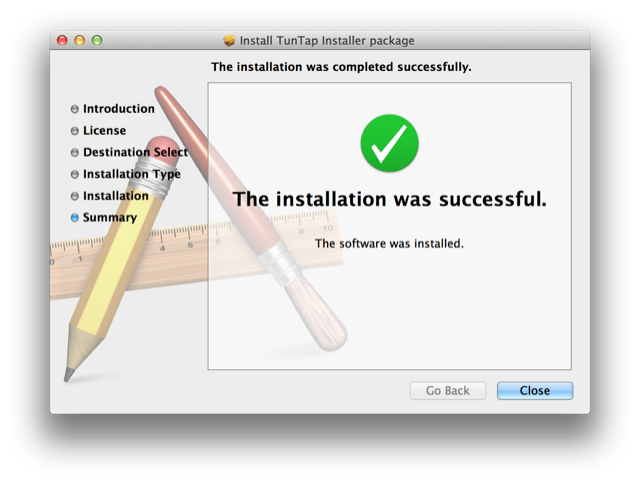
Install it.
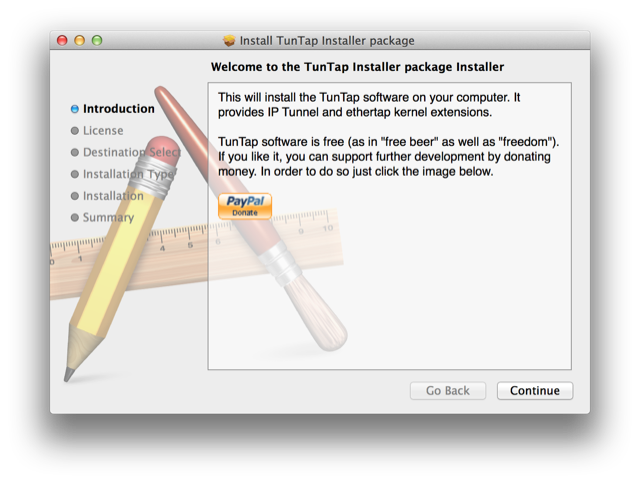
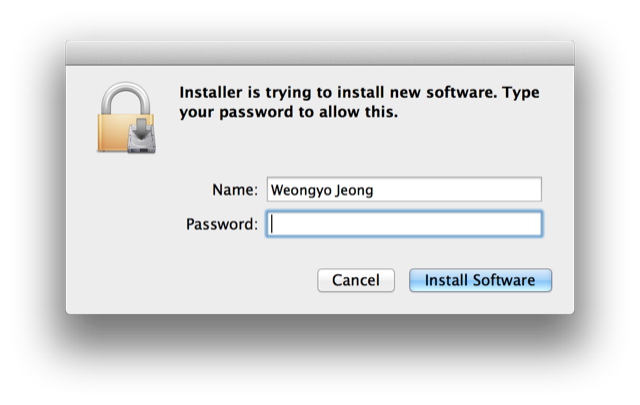
During installing tap(4) driver, it requires root permission because it’s kernel module.
Done to install.
If you’re familiar to use Terminal, you could check status of tap/tun kernel module using kextstat command.
mac:~ weongyo$ kextstat
  ...
  111    0 0xffffff7f81dd2000 0x7000     0x7000     foo.tap (1.0) <7 5 4 1>
  112    0 0xffffff7f81dd9000 0x8000     0x8000     foo.tun (1.0) <7 5 4 1>
  ...
These kernel modules will be automatically reloaded whenever Mac OS X booted.
Install and Uninstall
Install
We assume that you downloaded a Mudfish Cloud VPN package from the download page and the file extension of package is ”.sh”.
$ curl -O http://static.loxch.com/releases/mudfish-3.1.0-macosx-x86_64.sh
$ sudo sh mudfish-3.1.0-macosx-x86_64.sh
Verifying archive integrity... All good.
Installation is done under /Applications/Mudfish\ Cloud\ VPN.app/.
$ ls -l /Applications/Mudfish\ Cloud\ VPN.app/
Uninstall
The below command could be used to remove Mudfish Cloud VPN package.
$ sudo rm -rf /Applications/Mudfish\ Cloud\ VPN.app/
How to use
Mudfish Cloud VPN consists of three programs that Mudfish Core (mudfish), Mudfish Flow Controller (mudflow) and Mudfish Launcher (mudrun). Each program’s roles are as follows:
Mudfish Core (mudfish)
Core program to handle the routing table, RX/TX packets and the communication between Master server. Command line options are available to launch it at console.
Mudfish Flow Controller (mudflow)
Flow controller to manage the routing table and RTT measurement.
Mudfish Launcher (mudrun)
Web UI based on the reverse proxy.
Launch it!
Let’s launch Mudfish Launcher with -L option.
$ sudo /Applications/Mudfish\ Cloud\ VPN.app/Contents/MacOS/Mudfish\ Cloud\ VPN -L en
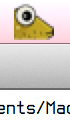
On Mudfish Cloud VPN for Mac OS X, the icon will be shown on the top-right as follow when it’s executed.
Please note that Mudfish Cloud VPN requires root permission to launch because
- It needs to use raw-socket interface for calculating RTT (Round Trip Time) with ICMP protocol.
- It needs to modify the system routing table for redirecting the specific traffic.
- It needs to launch dhclient(8) for fetching IP address.
When it’s launched, it opens a listening address at 127.0.0.1:8282 accessable with web broswer using http://127.0.0.1:8282
Sign up
You need to open an account to use Mudfish Cloud VPN and ‘Sign Up’ link is found at the sign-in screen.
Deactivate the account
The link to close your account permanetly could be found at ‘Accounts’ menu.
Sign in
If Mudfish Launcher is working correctly, your default browser’ll be launched when you click ‘Open Dashboard’ menu on the Mudfish Cloud VPN menulet icon as follows:
How to use Mudfish Launcher
The following screen will be shown when the sign-in process was good.
Now it’s ready to use all Mudfish Data Centers. For details about Mudfish Launcher please refer to “How to use Mudfish Launcher” document.
Stop Mudfish Cloud VPN
Kill mudrun process with kill(1) command.
For Linux
Install and Uninstall
Install
We assume that that you downloaded a Mudfish Cloud VPN package from the download page and its file extension is .sh.
$ wget http://static.loxch.com/releases/mudfish-2.2.20-linux-x86_64.sh
$ sudo sh mudfish-2.2.20-linux-x86_64.sh
Verifying archive integrity... All good.
Uncompressing Mudfish Cloud VPN v2.2.20......
Installation is done under /opt/mudfish/2.2.20.
$ ls -l /opt/mudfish/2.2.20/bin/
At linux pacakge, there are three executable binary files and the installation path would be always /opt/mudfish/$(VERSION)/bin/. Please note that $(VERSION) is vary depending on what version you’re installed.
Uninstall
The below command could be used to remove Mudfish Cloud VPN package.
$ sudo rm -rf /opt/mudfish/2.2.20/
How to use
Mudfish Cloud VPN consists of three programs that Mudfish Core (mudfish), Mudfish Flow Controller (mudflow) and Mudfish Launcher (mudrun). Each program’s roles are as follows:
Mudfish Core (mudfish)
Core program to handle the routing table, RX/TX packets and the communication between Master server. Command line options are available to launch it at console.
Mudfish Flow Controller (mudflow)
Flow controller to manage the routing table and RTT measurement.
Mudfish Launcher (mudrun)
Web UI based on the reverse proxy.
Launch it!
Let’s launch Mudfish Launcher. The version could vary depending on your package.
$ sudo /opt/mudfish/2.2.20/bin/mudrun -L en
Mudfish Cloud VPN requires root permission to launch because
- It needs to use raw-socket interface for calculating RTT (Round Trip Time) with ICMP protocol.
- It needs to modify the system routing table for redirecting the specific traffic.
- It needs to launch dhclient(8) for fetching IP address.
When it’s launched, it opens a listening address at 127.0.0.1:8282 accessable with web broswer using http://127.0.0.1:8282
Sign up
You need to open an account to use Mudfish Cloud VPN and ‘Sign Up’ link is found at the sign-in screen.
Deactivate the account
The link to close your account permanetly could be found at ‘Accounts’ menu.
Sign in
On Linux system you should manually open the browser and access to Mudfish UI which is normally available at http://127.0.0.1:8282
How to use Mudfish Launcher
The following screen will be shown when the sign-in process was good.
Now it’s ready to use all Mudfish VPN servers. For details about Mudfish Launcher please refer to “How to use Mudfish Launcher” document.
Stop Mudfish Cloud VPN
Kill mudrun process with kill(1) command.